
HOW TO INSTALL DECORATIVE WALLPAPERS

9 REASONS WHY CLEANING IS IMPORTANT
December 16, 2022
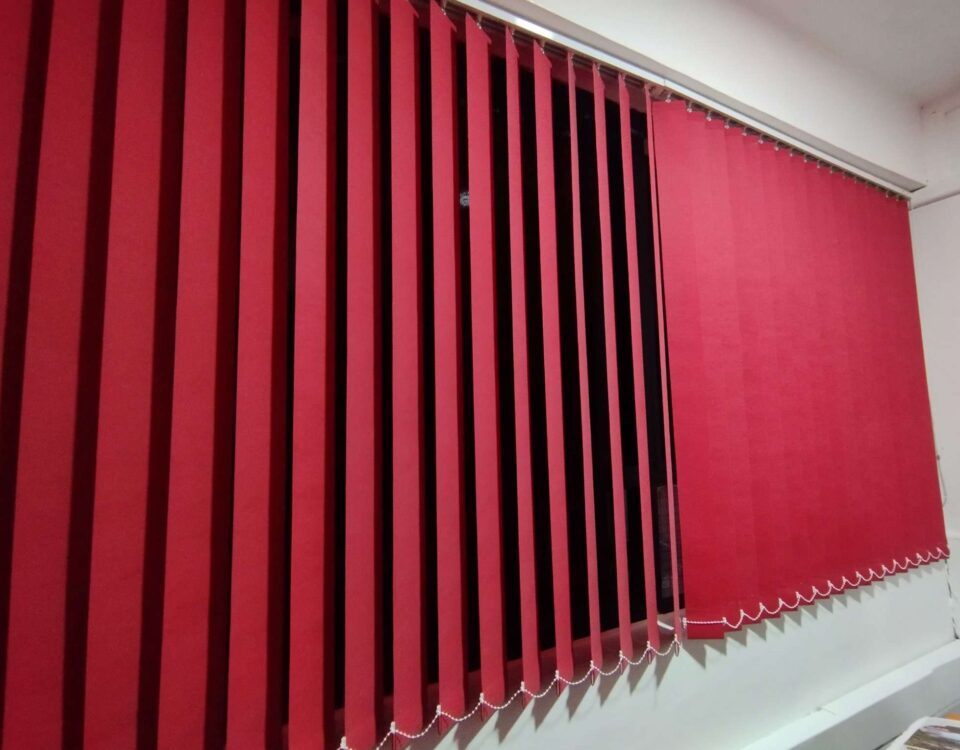
8 REASONS WHY YOU SHOULD CONSIDER WINDOW BLINDS
February 10, 2023HOW TO INSTALL DECORATIVE WALLPAPERS

Everyone has their own opinion on what kind of wallpaper decorations they prefer. Be it for their homes or their places of work. Some prefer to keep it simple and plain while others prefer patterns and more artistic decors. Whichever side you might fall under, best believe that wallpapers have you covered.
Wallpapers come in different varieties to suit your preferences and make the vision you have in mind of your dream look, come to life. One other exciting thing about this design model is that you can install it yourself. It’s really quick and pretty simple.
Below is a step-by-step guide on how to apply the wallpaper of your choice, on your own, and how to fix some of the mistakes you may make.
What you need to set up the wallpaper;
- Wallpaper
- Primer/paste
- Sandpaper
- Puffy knife
- Wallpaper brush
- Measuring tape
- Wallpaper tray/table
- Level
How to Wallpaper a Room Step by Step
1. Prepare your wall
The very first thing to do is to ensure that your wall is ready for the wallpaper. How do you make sure?
- By turning off the electricity to avoid electrocution.
- By removing every nail, screw, or hook on the wall and covering the outlets with tape.
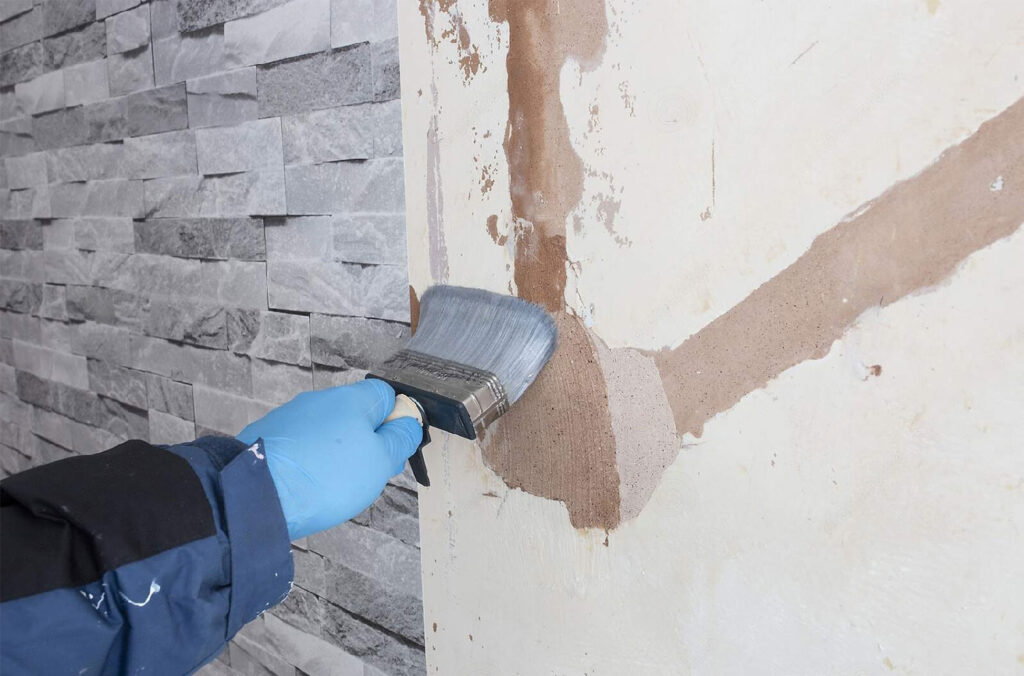
In case there is old wallpaper on the wall, you will have to remove it and this is where the puffy knife comes in handy. You will use the knife to scrape off all the old wallpapers completely. Make sure that there are no traces of the old wallpaper on the wall. After removing the old one, clean the wall carefully and ensure you get all the dirt out. You may use a mixture of about two cups of bleach and a gallon of water to clean the wall.
After cleaning the wall, smoothen the cracks with wall putty by applying it to any cracks or holes you will see on the wall. You do this so that after you put the wallpaper on it will look smooth and clean. During the wall putty application to the wall, use sandpaper to smoothen the patch into the surface.
Learn 4 best window blind designs in Kenya

2. Measure your wall
Measure your wall to be sure of exactly how long the wallpaper you want to put on your wall should be. When measuring, add about 20cm for leeway at the top or bottom, this helps cover up in case of some incorrect measurements.
Finally, spread out your wallpaper. Spread it out on a flat surface and make some marks and line drawings on the points where you will cut. Cut out lightly on the marked points. You can use a light pencil for this, or draw the line at the back of the wallpaper.
Afterward, you will have to draw a vertical line on the area that should be papered. All the while using a carpenter level and pencil. This line will be guided when you want to lay your first strip.

3. Paste your first strip
You will need to paste the wall as well as the paper. It can be tough and all messy. Applying paste on the paper will make it difficult to transport it from the table to the wall. It will stick to everything and even stick to itself, which can lead to tearing.
Therefore, it is advisable that you just apply a generous amount of paste to the wall. Some wallpapers might come with paste, so you don’t have to use adhesive on the wall. It is recommended that you follow the manufacturer’s instructions when pasting.
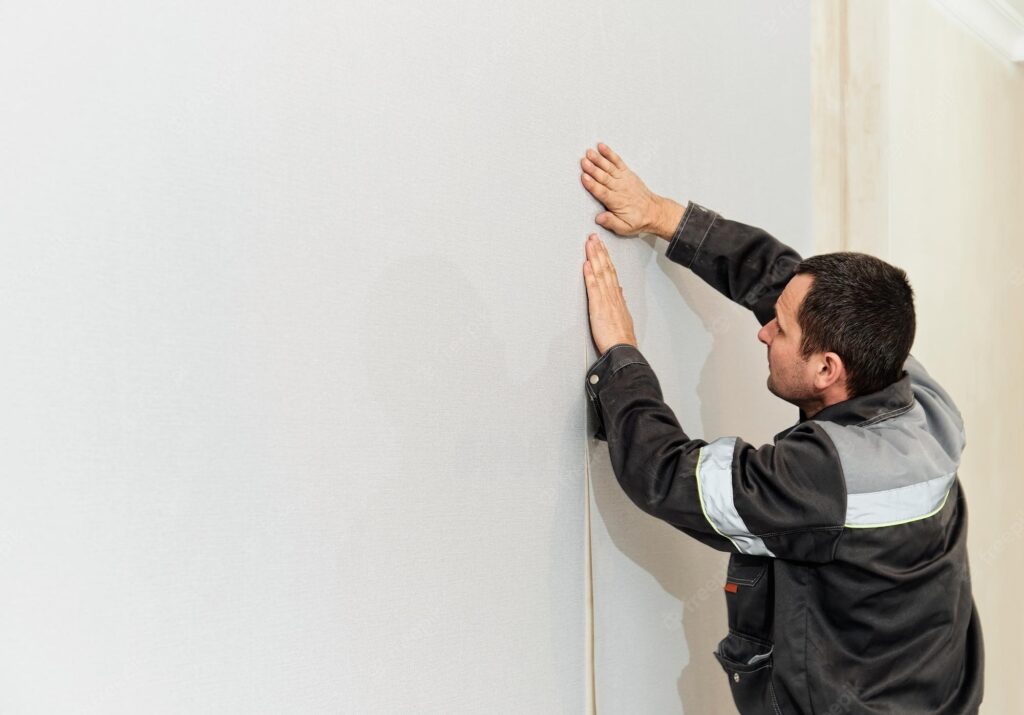
You will then apply your first strip on the wall gently, then lay it from the ceiling, and smooth it down the wall with a clean cloth or perhaps wallpaper brush. You will need to leave out about 2 inches hanging at the top and bottom. You will then press the wallpaper on the wall firmly which creates a faint line, that will be like a marking. This makes it easy to cut excess wallpaper away.
You should then start smoothing down from the middle of the paper to the edges. Since this might be your first time, this first strip may not come out so perfect. Therefore, you will have to be ready to peel it off gently and try again if need be. You will need to make sure your strokes are gentle to avoid creating a crease on the paper. In case some wrinkles forming up, you will have to pull the paper away from the wall gently. After, when it gets to the wrinkled area, smoothen it out slowly.
Important: Best wall to wall carpets in Nairobi
4. Lay the second strip
The second strip might be slightly harder than the first one was, you will have to match up patterns and avoid overlay. Firstly, unroll your wallpaper and align it next to the first strip on the wall. In case your wallpaper is patterned, you will start matching the patterns from the middle.
Aim at matching the designs carefully and ensure that the paper does not overlap. Make sure that the next strip must meet the first at the edge. Just like on the first strip, leave a few inches at the top and also at the bottom.
5. Wallpaper corners and tricky areas
Simply lay your paper around to the next wall for the corners. You should meet up the patterns at the edges as you did before. Then, press it in gently with your cloth or brush.
When the first wall is correctly lined to the corner, make a small incision at the top (where the corner meets the ceiling) with scissors. The incision will make it easy to fold the paper.
Do the same for the bottom where the corner meets the skirting or floor before you move to the second wall. Press the paper with the cloth or wallpaper brush. Do this carefully and ensure that your wallpaper doesn’t pull away from the other edge. If it does, pull it out gently and try again.
Tricky areas like outlets and switches aren’t much of a problem. Just lay the wallpaper over them, but don’t press the strip down too much on these areas. Use your scissors to cut through at the center point. Then, press the paper down and smooth it around the edges of the socket.
- When the paper has rested well, the shape of the outlet will be more definite. You can then cut the excess paper with a knife.
6. Cut out the excess paper
There are several ways to cut out the excess paper. You might use your free hand, a knife, a ruler, or maybe even use a pair of scissors.
Whichever option you may choose to go along with, just ensure you do it patiently.
Some mistakes to expect and how to fix them
- Trapped Bubbles
In case bubbles appear. Get a knife, glue injector, and seam adhesive. You then make a small incision along the side of the air bubbles carefully, use some of your glue injectors to insert some adhesive, and press it down. Clean the excess glue with a clean cloth.
- Peeling edges
These might occur in case you have a rough surface underneath your wallpaper. Therefore, lift the area and sand down the wall. Make sure it becomes smooth enough, you will then have to add wallpaper paste to the surface and then stick the wallpaper.
- Cutting away too much paper
In case you unintentionally cut out too much of the excess wallpaper, just stick the part you cut out back and re-cut. The cut will not be visible after the wallpaper dries.
- Curled seam
This appears when you do not use enough paste at the edges. In case you see this mistake, simply dampen the area with warm water. Then apply more paste under the wallpaper. Smoothen it with little pressure then wipe the excess glue off.

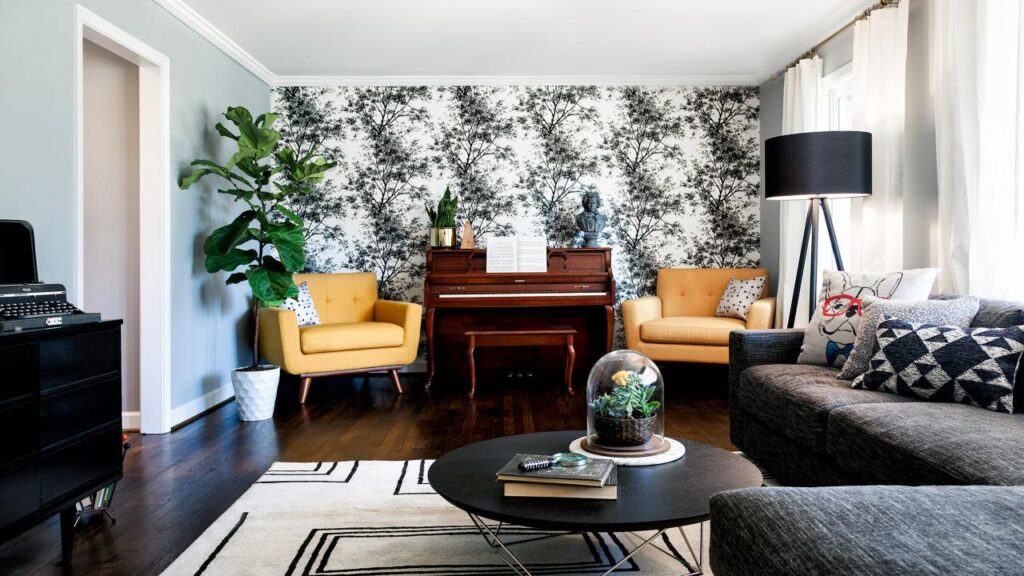
Conclusion
Putting wallpaper on your wall is not as hard as it may seem to be. If you follow the steps given you will surely have the best outcome. Another point you should be keen on is when you are choosing the best wallpaper for your home. Ensure you pick a wallpaper pattern that best suits or is in line with your furniture.
We are professional wallpapers installers. Contact us today for a site visit, quotation, and installation. Reach us at 0777 194 800